Thursday, June 28, 2018

Hobby Update: Ostermark League! (League of Rhordia)

I definitely hobbied on my League in the wrong order! Rather than rebase some Empire models and then add a few units of halflings, I went out, bought and then hobbied up 2000 points of halflings, and now, 6-7 months later, am rebasing some old Empire dudes as a new, 2nd League of Rhordia army. Oops.

The goals here were to work with some old models, avoid buying new plastic, and end up with an Old World styled army. I think I did well! Most of these models were repainted in the early days of the blog, so most of the recent work here was just rebasing everything, because at the start of the blog, I wasn't sold on multibasing. (I am now.)


Honor Guard
The models fit really weird with just three as a regiment. They are too long and not really wide enough to really fill out the unit nicely. So, I opted for Hordes of 4.


Onward!
When these first hit the table in my Warhammer days, they were still in process. In their first game they charged an enemy block of Saraus Warriors; I rolled really well, and every attack (except for one dumb knight) hit, and every hit wounded, and every save was obligingly failed. The enemy unit was obliterated, and they underperformed ever since. To this day I have no idea how much damage they would "typically" do. My opponent was gracious enough to gift me some Lizardman bits in commemoration of the event, and they made their way into the finished unit.

House Guard, City Militia and Crossbows
All my remaining Greatswords ended up here in this army, as did all my Halberdiers and Crossbowmen. These are pretty typical units, all found in the Kingdoms of Men army as well.


I really like how these units turned out. The center unit are the Fancy Hats, a regiment of halberdiers with feathered caps that have fought the good fight on my behalf for quite some time.
The City Militia (Halberdiers) are cheap units with Crushing Strength, giving up defense in order to hit just a little harder. Their main advantage is their low cost. You can field a lot of these units for cheap, and they are viable at any size. I've yet to use hordes, but if you need unlocks...  that's one easy way to get them. I've used some troops, and when given an enemy flank, you'll be surprised with their damage output. I think my preferred size would probably be a regiment though. The higher Nerve definitely helps; they don't need any unlocks, and 100 pts for a unit is still pretty cheap.

The House Guard is the elite infantry, again giving up defense for some Crushing Strength. A good Melee stat plus Crushing Strength makes for great troops that are surprisingly resilient. They are a little expensive for an infantry troop, but when paired with a good anvil, they should work quite well.


Braves, House Guard, and some screening Crossbows.
The Crossbows should be pretty self-evident. They shoot stuff! The goal with the three troops here would be to sprinkle them around the battlefield, and have them contribute as able. Reload really hurts them too, as you really need to plan ahead with their shooting, and then even in an ideal environment, their shooting isn't great. I wouldn't expect too much from them, but they may surprise you from time to time.

Eccentric Halfling Braves
I couldn't figure out where I would ever run this little unit, so I decided to rebase them as some chaffy Braves for this army.

The models are from Eccentric Miniatures, and I would still recommend these to anyone looking to buff their army numbers on the cheap. At $1/mini, these aren't high quality minis.. but will definitely get the job done. They are nearly the same size as the WHFB minis, but lack the detail and dynamic posing.

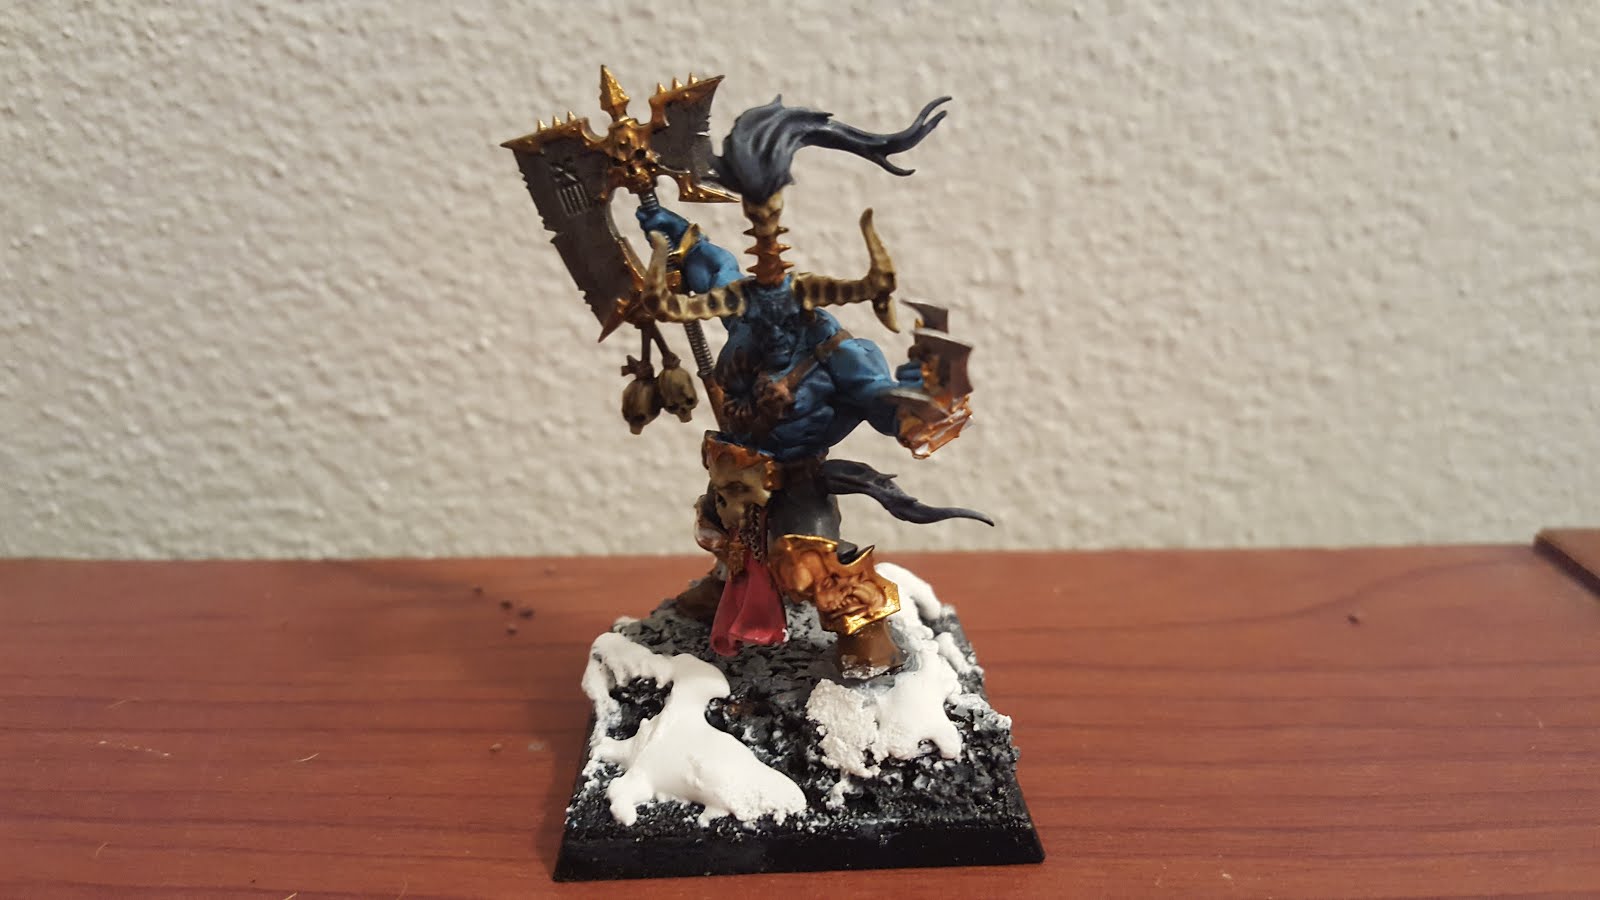
Iron Beast and Heroes
All of these are old Empire dudes, and did get some touchups, though nothing too drastic.

I have a few options for inspiring, a wizard on foot (as most of the army is also on foot), and a monster of sorts to help out and anchor the line.


I wish the Iron Beast had a cannon option.. I may need to add some cotton ball flames in the future...
All this gets me up past 2000 points, which isn't bad. The army could use some additional cavalry (human knights, screening halfling knights, or harassing halfling rangers), but is fine for now.

I'm moving (locally) in about a month, so I'm trying to whittle down my hobby table. I've hobbied up a lot in 2018 already (about 6000 points worth of things, excluding this rebased League), and am down to just two Legions of Zombies as active projects. Those were painted up last September (or thereabouts), and just need to be based up, finally. Hopefully those will be up soon!

Sunday, June 24, 2018

Hobby Update: Varangur Fallen and Troll King

The Fallen were purchased a while back, and I have been hobbying on and off on them for probably about two months now. I'm calling them done.

The models are Praetorian Keltarii from Hordes. If I was buying new today.. the Immortals might be contenders for what models to use... but the Keltarii have a nice, lithe look to them, and should work very well to represent the unit.


I went with glaives over swords to represent the Crushing Strength of the unit. The arms were a little difficult to attach, but it worked out in the end. Technically, you could mix and match arms, but there really is one sculpt they were intended for. So customization via swapping is a little limited, but there are enough poses that you can pretty easily avoid having the models all looking the same.
They got the typical Varangur base of rocks and snow. I tried a duller, bronzy armor and a stony skin tone to try to convey their age and different background a bit.

I have yet to play with them, and haven't really followed community battle reports at all, so I don't have much to comment on. They look to have great stats, lots of special rules, and just be a solid pick overall. They are far more mobile than most of the other Varangur I have, so they should be making their way into lists the next time that army hits the table.

I also painted up a GW Exalted Deathbringer, to use as a Troll King. I've had this model since around when AoS launched. The local group was trying to figure out the game, and someone organized a 1-day event with 12-16 players. At the end of the day, I won this model for being the top scoring Chaos general... and he has sat unloved in a storage box ever since. In the spirit of putting old things to use, I decided to hobby on him too.


Could probably add some facial/tooth detail, but he's table-worthy.
He got the blue skin treatment, in keeping with the Varangur and Herd animal skin tones. He's an Ice Troll King, or something. In terms of wysiwyg.. he's not an ideal model. No "Big Shield" or anything signifying a breath attack... but he's all on his own, and doesn't appear anywhere else in the army, so hopefully there won't be too much confusion for my opponent.

Stat-wise, the King seems like a steal of a deal. Lots of great stats, a huge Crushing Strength score, and Inspiring to himself. Oddly enough, the Inspiring seems like the most potent to me. Typically I would want my inspiring sources near my other models, and my big expensive monsters supported by a source of inspiring. But the self-inspire here will let me run this guy solo, doing whatever needs to be done, instead of hanging around near my main battle lines. I think that gives him a ton of versatility, and I'd like to see what kind of shenanigans he could get into sometime!


Friday, June 15, 2018

Hobby Basics: Army Painter Basing

Mid May I decided to try my hand at a more traditional basing scheme with hobby ballast and static grass and such. I picked up some stuff from Army Painter (Brown Battleground, Static Grass, and more tufts), and set to work. After a week or so of fuddling around, I felt I largely the hang of it.

In no particular order, I'd recommend using:
  • Hobby Ballast (little rocks, etc)
  • PVA Glue
  • Static Grass (Army Painter)
  • Tuft Grass (Army Painter)
  • Bases of your choice
  • Gel Super Glue
  • Hobby knife
  • Old Brush
  • Spoon
  • Popsicle stick
  • Tweezers (for applying tufts)
  • Paper Plate
With the above in-hand, here is a step-by-step method of application.


Step 1: Prepare the base


I really like cork board rocks, and always prime them, so adding those elements is my step 1. If you don’t like the look, ignore the rocks simply score your base a little with a hobby knife to get things started. The scoring is optional, but it did seem to help me a lot in my trials (if you don't score, you risk giving the glue not enough to grab onto with the base, and peeling all your basing materials right off of the base).

Bases, ready to go!


Step 2: Add Glue***


I experimented with different levels of diluted glue, and nothing worked well for me. I eventually squirted full strength PVA glue onto the base, and then smoothed it out with a tongue depressor, toothpick, or popsicle stick. That worked for me, so it's the level of glue dilution I'd recommend.


Step 3: Add the Ballast


Over a paper plate, spoon out the ballast, and dump it over the base. Be generous, as you don’t want bald patches on your base! Once covered, let your glue harden for a few hours, and use the paper plate to funnel any excess ballast back into its container.
On the right, the glue has been spread around, and the ballast applied on a few bases. Note the paper plate, used to catch a lot of the extra ballast!
Step 4: Add the Static Grass


Grab some more glue. You can either squirt it full strength onto the dried base, or dilute it a bit with water. Take an old brush, wet it, and spread the glue around a bit on the base. If you do have bald spots from Step 3, they are a great place for grass! Then, over a paper plate, take pinches of the static grass and sprinkle it onto the base.


Adding static grass!
Step 5: Add tufts


These tufts are great! They have a bit of adhesive on the bottom, but extra glue helps them stick and last. Simply put a dot of PVA glue or super glue on the bottom, and then place. You can use fingers to apply, or tweezers, if you’d rather.

Step 6: Add minis


I’m working with old GW Empire minis, which don’t have any stands or extra bits around their feet. So, with the base done, a dot of gel super glue on each foot is all you need. Hold in place for a few seconds, and then move onto the next one.


I would avoid PVA glue for this step, as it doesn’t set fast enough. I’d also avoid liquid super glue, as being more liquid, will likely get places you don’t want it to go during this step. The gel style super glue is designed to stay where you put it, and that can be very helpful when trying to orient minis.

Ta-da! Static grass and tufts and everything!
Step 7: Touchups!


Grass and tufts can help hide mistakes. If you used a little too much glue to base the minis, sprinkle a little more static grass!


*** If your minis come with stands, and you’re attempting this basing approach, I’d suggest painting them first, and then gluing them to the base as part of Step 1. When applying the PVA glue in Step 2, I’d recommend using a brush to apply the glue, as it is far more dexterous than a popsicle stick, and you don’t want to get glue on the model’s feet.


If the model is tricky, do the above in stages. Add a rank of minis, add the glue and ballast around their feet, and wait for it to set. Then move on to the next rank. It’s more time consuming, but it could be far less frustrating!

Thursday, June 14, 2018

Hobby WIP: Second Beast

Those that have followed my handful of actual games might recognize this as my ballista-carrying Beast of War, and you would be wrong, but close. This is my second Beast of War!

Still needs work, but I like the expression/pose of the gunner.
Same models, same howdah build, same paint scheme... but a slightly different orientation so that it hopefully doesn't look like a cookie cutter copy of the first Beast when they are on the field together.

I had been planning this addition for a while... I probably picked up the second ankylosaurus model about a year ago or so? It just took a really long time to reach fruition, as I am lazy, and the howdah required a few intense hours of work that I only recently got around to doing. Two massive logs is still probably not the best way to secure a howdah... but I did it the first time, and felt I should do the same with the second model.

So, why a second Beast?

Well, my KoM army is really infantry-heavy, and in the handful of games I've been able to play, I've been deploying a bit back in the hopes that I can buy some time to maneuver around against anything unexpected, and maybe score a few early wounds with some Ballista shooting.

My singular Beast has fit in quite nicely with that plan of attack. The Light Ballista upgrade is a steal too; those shots add way more versatility than you'd think! I struggle a bit in melee though, as my Roman models aren't running things with CS (I have some some unit conversions in mind though). When the time comes for melee, the Beast is still a big bad monster, with a good stat line all around. Supported by some durable regiments, they should be able to grind out enemy units. I need to theory craft some lists, but I think I should be able to fit both Beasts in for a 2000 point game.

A few touchups are still needed here, and I'd like to redo the bit/chain with a thin jewelry chain or something for both models too, but I'd field both models without being embarrassed at their progress. More to come soon.

Monday, June 11, 2018

Hobby Update: 500 Pts Basileans

I've been experimenting with more traditional basing recently, techniques that use ballast and static grass to get a classic wargaming field look. As a "proof of concept," I did up this little band of Basileans from some old Empire models and Army Painter's Brown Battleground.

The group totals to an even 500 points. Two regiments of Penitents, a group of legendary Forlorn Guard, and one High Paladin to lead the way. 
The Basileans seem like angelic-themed fantasy Byzantines in the Mantic fluff, so while it’s now Istanbul and not Constantinople, I drew on my time in Turkey as an inspiration for the aesthetics. While not a Byzantine symbol, the nazarlık was all over modern Turkey, and was something I could easily freehand on the banner. A warding symbol seemed appropriate for the pious Basileans.

The “forlorn” is an interesting concept. With the Landsknecht-contribution to the concept, I figured some old Greatswords would be a good choice of models, and I repainted a group of them to have more blue colors, and I added some capes to give them a more unique look as well. Who doesn’t like billowing capes? I feel a little bad for including a legendary unit in such a lowly band, but whatever. I think it works well thematically. In my headcannon, this group is out seeking redemption through combat; putting themselves in harm’s way as some form of penance.

As a group of allies, or as a small contingent in a bigger game, I think these will work out well. They better! Any expansion of the army would require a bunch of purchases, which I don't want to make right now. I'm still not getting games in, and still have a ton of plastic to work on, so new purchases are still a ways off for me.

So, no more Basileans for now, but much more coming in the near future. I'm moving in a few months, so I'm trying really hard to finish up a lot of hobby projects!